Blog

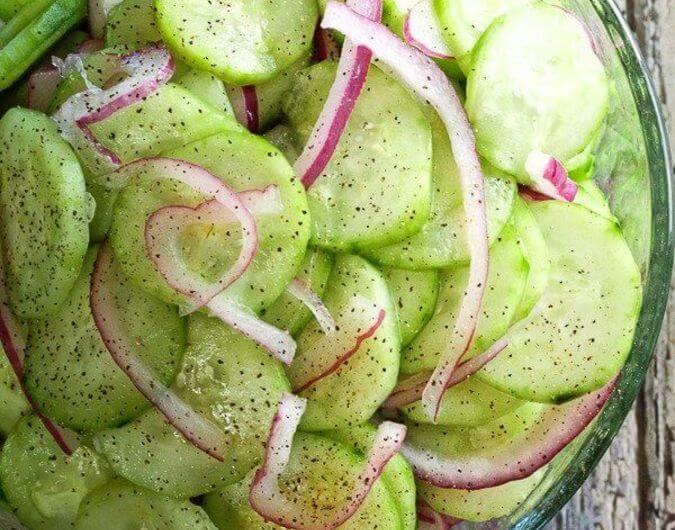
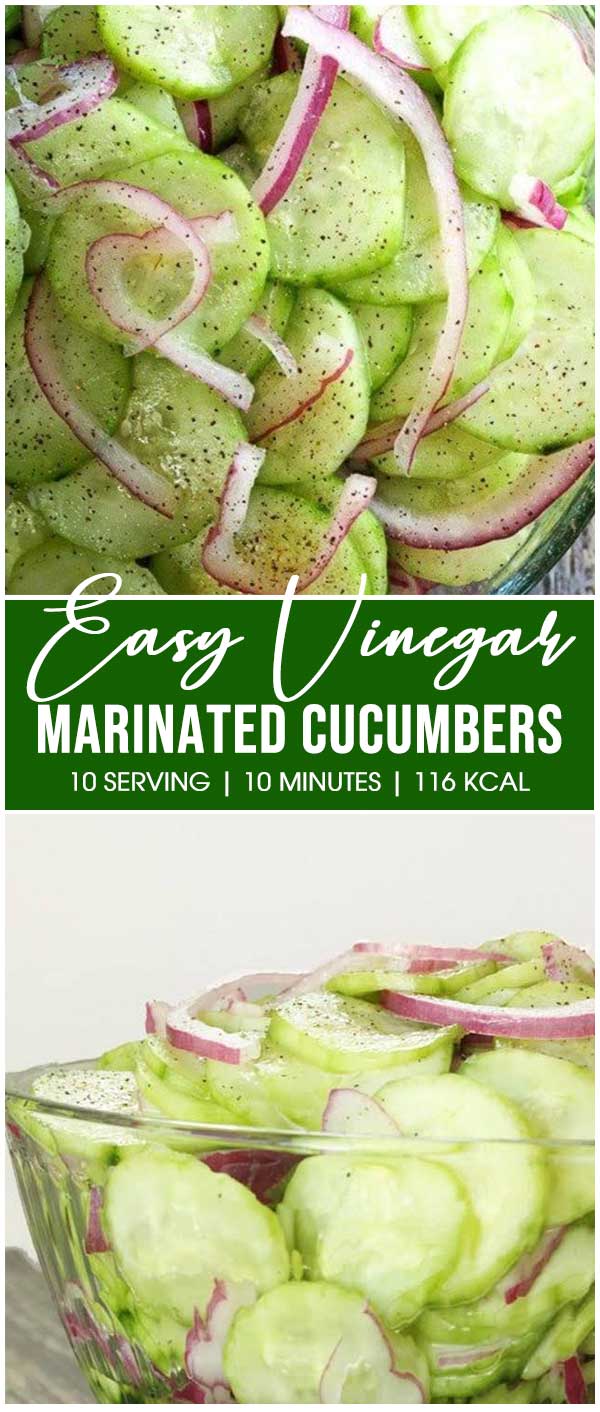
  • Easy Vinegar Marinated Cucumbers

    Easy Vinegar Marinated Cucumbers

    Want something tasty and easy made with cucumbers? This vinegar marinated cucumbers are right up your street. I make it at least 3 times a month. The reason is simple. It pairs well with baked roasted, and grilled meats and seafood. My family prefer eating these marinated cucumbers with grilled chicken skewers during scorching days. The fresh juicy taste of cucumbers are easy to build up our appetite for meal. So good!

    Cucumbers are marinated with apple cider, red onion, salt and sugar, then refrigerate at least 20 minutes. It takes you only 10 minutes to prepare. For veggie lovers and cucumber fans, this side dish is definitely adding to daily meals. Stop by a store and throw only 5 ingredients to the cart, and you can make tasty and flavorful vinegar marinated cucumbers of your own.

    As cucumbers are available at stores at any time of the year, you can enjoy this side dish whenever you love to. I even make it to start the meal at weekend gatherings and small parties. It treats my guests well while consuming less time. You ready to make them at home? Here we go!

    Easy Vinegar Marinated Cucumbers

    Recipe by Sandra Myers
    0.0 from 0 votes
    Course: Salads, SidesCuisine: AmericanDifficulty: Easy
    Servings

    10

    servings
    Prep time

    10

    minutes
    Calories

    116

    kcal

    Cucumbers are marinated with apple cider, red onion, salt and sugar, then refrigerate at least 20 minutes.

    Ingredients

    • 5 cucumbers

    • 1 red onion

    • 1 cup apple cider vinegar

    • 1 tsp salt

    • 1/2 cup sugar (or more to taste)

    • 1/2 cup water

    Directions

    • Peel and cut cucumbers into thin slices.
    • Cut onion in half then cut into very thin slices.
    • Add onions and cucumbers in a large Ziploc bag.
    • Gather other ingredients in a medium-sized bowl. Stir until sugar dissolves.
    • Pour vinegar mixture over cucumbers and onions.
    • Press out air (as much as possible) and seal bag.
    • Chill in the fridge for at least 20 minutes.
    • Remove, drain liquid and serve in a bowl. Serve.
    • For the leftovers, store in a jar or air-tight container and refrigerate for up to 3 days.
    Easy Vinegar Marinated Cucumbers
  • Creamy Cucumber Salad with Red Onion

    Creamy Cucumber Salad with Red Onion

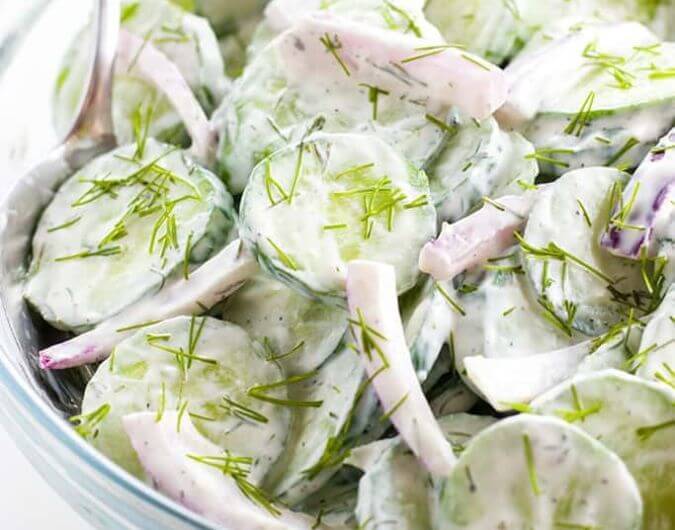
    Creamy cucumber salad is one of the best salads to make during scorching days. The reason is simple. Cucumber season reaches its peak in summer. Another is that this salad is tasty yet super easy to make. It’s great for both family meals and gatherings as an appetizer or a side dish. I’ve made it for my family and they all fell for it!

    Cucumber and red onion is finely chopped then mixed well with a mixture of sour cream, dill, olive oil, lemon juice, garlic powder, and salt and pepper. It comes out creamy and flavorful. Who can resist it? My family can’t. When served at gatherings, this salad also got my guests hooked. Some of them also asked for the recipe to make a good one of their own. I did a great job, right?

    If you are finding something good to make with cucumbers or looking for flavorful fresh salad, this creamy cucumber salad is the way to go. Spend 10 minutes, and this salad is ready on your table. Easy, right? Serve them alongside grilled or baked chicken, beef or seafood, your meal would be perfect. Can’t wait giving it a try? Let’s get started!

    Creamy Cucumber Salad with Red Onion

    Recipe by Sandra Myers
    0.0 from 0 votes
    Course: Salads, SidesCuisine: AmericanDifficulty: Easy
    Servings

    6

    servings
    Prep time

    10

    minutes
    Calories

    86

    kcal

    Cucumber and red onion is finely chopped then mixed well with a mixture of sour cream, dill, olive oil, lemon juice, garlic powder, and salt and pepper. It comes out creamy and flavorful.

    Ingredients

    • 6 cups cucumber, chopped

    • 1 small red onion, thinly sliced

    • 2 tbsp. fresh dill, chopped

    • 1/2 cup sour cream

    • 1 tbsp. olive oil

    • 1 tbsp. lemon juice

    • 1/2 tsp garlic powder

    • 1/2 tsp sea salt

    • 1/4 tsp black pepper

    Directions

    • Gather sour cream, dill, olive oil, lemon juice, and garlic powder in a large mixing bowl. Stir to combine.
    • Season with sea salt and black pepper to taste.
    • Stir in chopped cucumbers and red onions. Cover with plastic and let it sit at room temperature for at least 30 minutes.
    • Serve and refrigerate leftovers for up to 3 days.
    Creamy Cucumber Salad with Red Onion
  • Cucumber Sandwich

    Cucumber Sandwich

    Cucumber Sandwich

    Recipe by Sandra Myers
    0.0 from 0 votes
    Course: Breakfast, BrunchCuisine: AmericanDifficulty: Easy
    Servings

    4

    servings
    Prep time

    10

    minutes
    Calories

    496

    kcal

    Ingredients

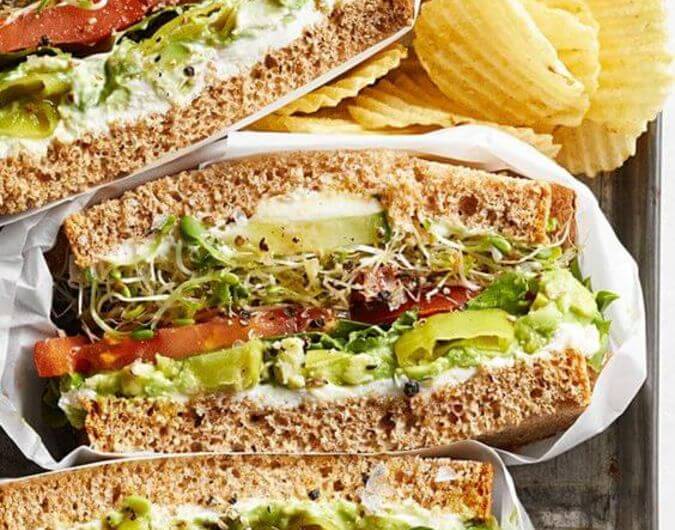
    • 6 slices cucumber

    • 2 thick slices whole wheat bread

    • 2 tbsp. cream cheese, softened

    • 1 ounce pepperoncini, sliced

    • 2 tbsp. alfalfa sprouts

    • 1 tsp red wine vinegar

    • 1 tomato, sliced

    • 1/2 avocado, mashed

    • 1 leaf lettuce

    Directions

    • Spread each slice of bread with 1 tablespoon cream cheese.
    • Add a single layer of cucumber slices.
    • Cover with sprouts, then sprinkle with oil and vinegar.
    • Add tomato slices, lettuce, and pepperoncini.
    • Spread with mashed avocado.
    • Close sandwich and serve immediately.
    Cucumber Sandwich
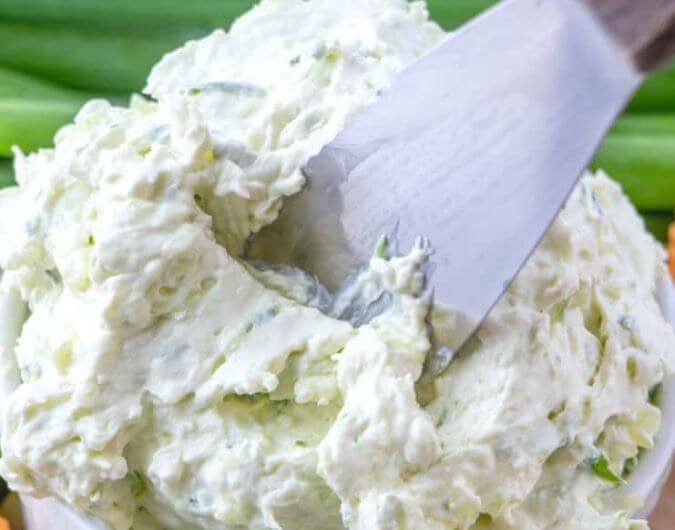
  • Cucumber Cream Cheese Spread

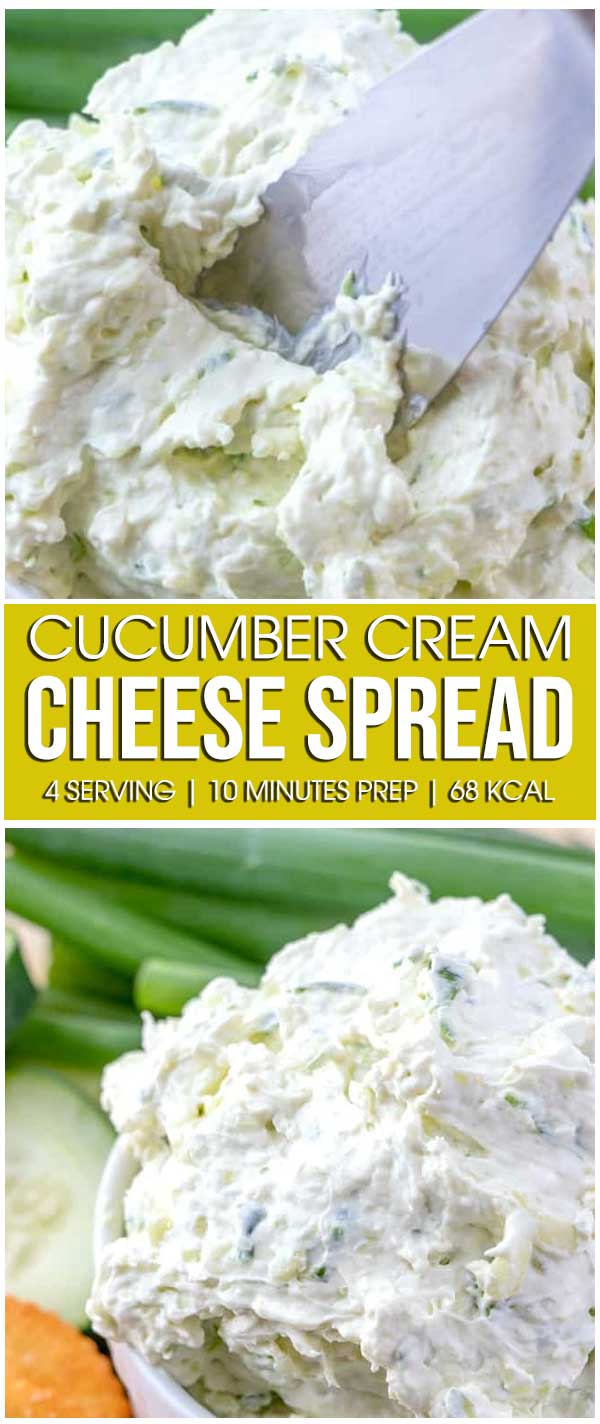
    Cucumber Cream Cheese Spread

    Cucumber Cream Cheese Spread

    Recipe by Sandra Myers
    0.0 from 0 votes
    Course: Appetizers, Lunch, BrunchCuisine: AmericanDifficulty: Easy
    Servings

    4

    servings
    Prep time

    10

    minutes
    Calories

    68

    kcal

    Ingredients

    • 1/2 cucumber, peeled and cut into chunks

    • 1 (8 oz) block cream cheese, softened

    • 3 green onions, sliced thinly

    • 1 teaspoon Worcestershire sauce

    • 1/8 teaspoon salt

    Directions

    • Trim roots of green onion and place in food processor. Add cucumber and
    • process until coarsely chopped.
    • Add in cream cheese, Worcestershire sauce and salt.
    • Cover and continue to blend until smooth. Pour mixture in to a medium bowl.
    • Cover and refrigerate overnight. Serve.
    Cucumber Cream Cheese Spread
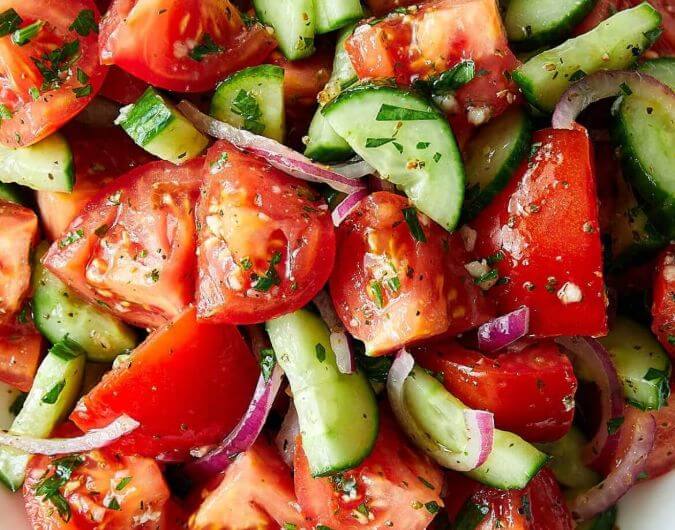
  • Rustic Cucumber and Tomato Salad

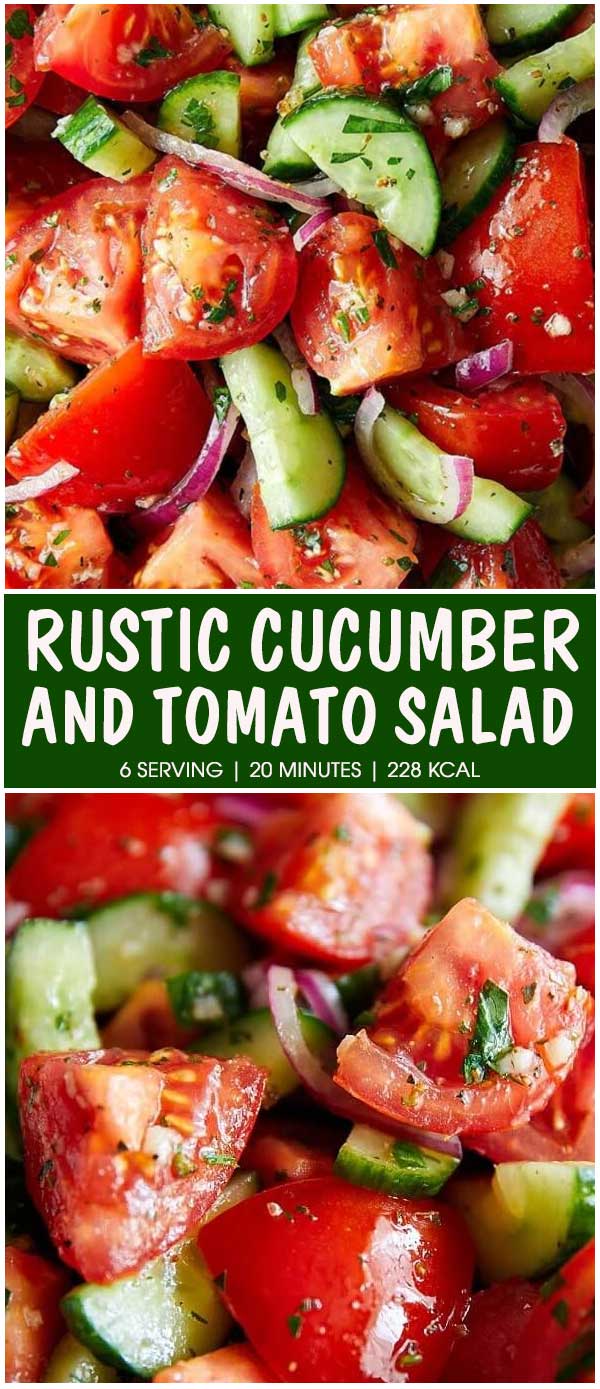
    Rustic Cucumber and Tomato Salad

    A flavorful green salad that you can make at any time? This rustic cucumber and tomato salad is a definitely worth recommending. Cucumber pairs with tomato, along with red onion, parsley, cilantro, brown sugar and spices. The mix comes out tasty and flavorful. When I served them for meal for the first time, my family fell for it right away. Yummy!

    As super impressive, this fresh green salad is also perfect for parties and gatherings. Serving at the beginning of the meal, it will build up your appetite. Feeding a hungry crowd without providing much carbs, this salad is worth, right? I made it for a weekend meals of family and closed friends ahead of new year and they all loved it. Some of them even asked me for the recipe to make a good one of their own. It is considered as a compliment for any chef-of-home, right?

    If you love cucumbers and tomatoes or just want to make your salad life less boring, you should give this salad a go. Need only 20 minutes to prepare and one hour or more to refrigerate, this salad is worth adding to busy meals. You get ready to have them at your meal? Here we go!

    Rustic Cucumber and Tomato Salad

    Recipe by Sandra Myers
    0.0 from 0 votes
    Course: Appetizers, SidesCuisine: AmericanDifficulty: Easy
    Servings

    6

    servings
    Prep time

    20

    minutes
    Calories

    228

    kcal

    Cucumber pairs with tomato, along with red onion, parsley, cilantro, brown sugar and spices. The mix comes out tasty and flavorful.

    Ingredients

    • For Vegetables
    • 5 large tomatoes, fresh and fully ripe

    • 1 English cucumber, fresh and firm

    • 1/2 large red onion

    • 1 pinch brown sugar

    • 2 tbsp. chopped fresh Italian parsley

    • 2 tbsp. chopped fresh cilantro

    • 1 pinch kosher salt

    • 1 pinch black pepper

    • For Dressing
    • 1/2 cup extra virgin olive oil

    • 1/4 cup red wine vinegar

    • 1 tsp brown sugar

    • 1 tsp dried oregano

    • 1 tsp kosher salt

    • 2 garlic cloves, pressed

    • freshly ground black pepper to taste

    Directions

    • Remove core of tomatoes, cut into 6-8 wedges, then cut each wedge in half.
    • In a large bowl, combine tomatoes with brown sugar, salt, and pepper. Toss well.
    • Cut cucumber in half lengthwise, then slice into 1/4″ thick slices. Add cucumbers into tomato bowl.
    • Cut half of red onion into thinly crosswise slices. Then, cut in half, or leave as is. Add to cucumbers and tomatoes. Add chopped parsley and cilantro and combine well.
    • Gather all ingredients for dressing into a small bowl. Whisk until well blended.
    • Pour dressing evenly over vegetables and toss gently; using both hands. Cover with plastic and let sit at room temperature until ready to serve, for 1 to 6 hours.
    • Then serve and store leftovers in the fridge for up to 3 days.
    Rustic Cucumber And Tomato Salad
  • Keto Casserole with Ground Beef and Broccoli

    Keto Casserole with Ground Beef and Broccoli

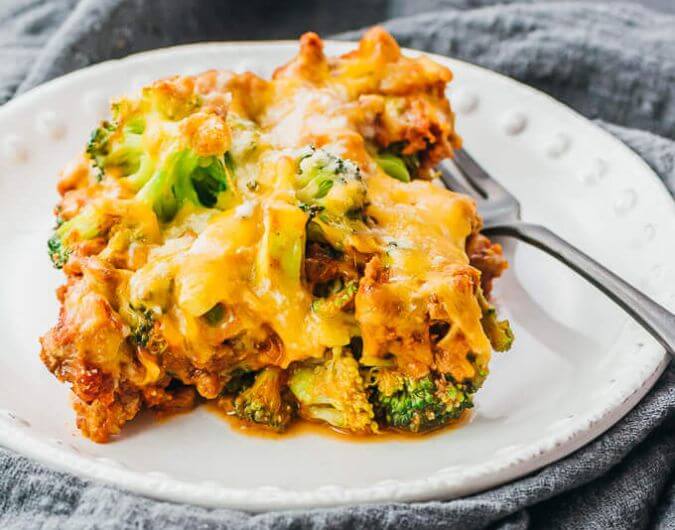
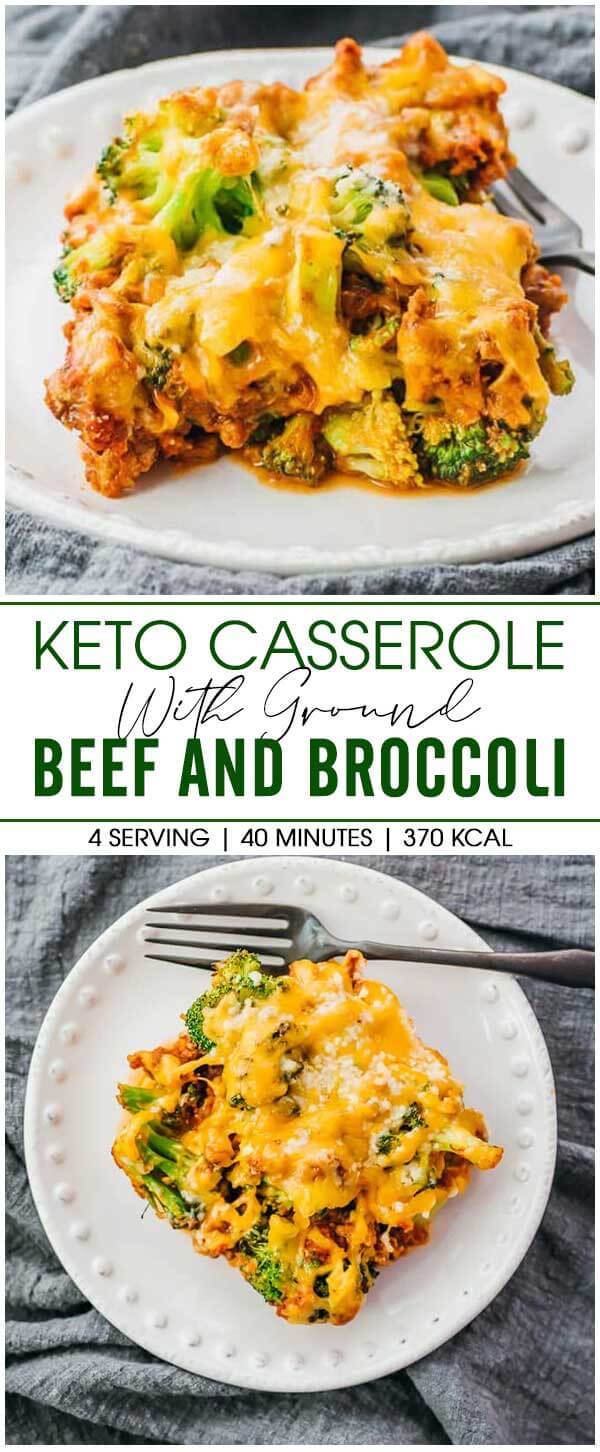
    Delicious and super duper impressive, this Keto Casserole with Ground Beef and Broccoli is our new favorite. It’s a great dinner to make at any time of the year, both freezing days of winter and scorching days of summer. The reasons are simple. This casserole tastes so good. The other is that all ingredients can be found at stores at any time. If you want it for today’s dinner, just for go it!

    This Keto casserole is loaded with broccoli florets, ground beef, shredded cheddar cheese, grated parmesan cheese, canned tomato sauce, stalk celery, garlic powder, ground cayenne and salt. Coming out cheesy and flavorful, it gets both kids and adults hooked. As eye-catching, this casserole is also great to serve at small parties, weekend gathering, for instance. The point here is whether you have appetite for it or not.  

    Although this ground beef and broccoli casserole is initially made for keto and low-carb eaters, you can still give it a try. Cutting carbs at meals sometimes is pretty good, right? I’ve tried it for my family and it worked. And you, ready to turn it into your homemade food? Here we go!

    Keto Casserole with Ground Beef and Broccoli

    Recipe by Sandra Myers
    0.0 from 0 votes
    Course: DinnerCuisine: AmericanDifficulty: Medium
    Servings

    4

    servings
    Prep time

    15

    minutes
    Cooking time

    40

    minutes
    Total time

    1

    hour 

    10

    minutes

    This Keto casserole is loaded with broccoli florets, ground beef, shredded cheddar cheese, grated parmesan cheese, canned tomato sauce, stalk celery, garlic powder, ground cayenne and salt. Coming out cheesy and flavorful, it gets both kids and adults hooked.

    Ingredients

    • 12 oz wt. small broccoli florets

    • 1 lb 90-95% extra lean ground beef

    • 1 3/4 cup shredded cheddar cheese

    • 1/4 cup finely grated parmesan cheese

    • 14 oz wt. canned tomato sauce

    • 1 large stalk celery, finely chopped

    • 1 1/2 teaspoons salt

    • 1 teaspoon garlic powder

    • 1/4 teaspoon ground cayenne

    Directions

    • Preheat oven to 375 degree F. Prepare an 8×8 inch baking dish and set aside.
    • Cut broccoli florets into smaller pieces. Gather in a large microwave-safe bowl. Cover and microwave about 5 minutes; until tender. Drain and steam out on paper towels.
    • Pat ground beef dry with paper towels if needed.
    • Cook ground beef on a large pan over medium heat until browned, about 5 minutes, breaking up into mall crumbles.
    • Add tomato sauce, celery, salt, garlic powder, and cayenne pan and stir well. Simmer for at least 10 minutes until it gets desired thickness/ consistency; stirring occasionally. Turn off heat and let moisture steam out.
    • Place broccoli, beef mixture, and half of cheddar cheese in baking dish. Stir to well combined.
    • Top with an even layer of remaining cheddar cheese. Sprinkle parmesan cheese on top.
    • Bake for about 20 minutes, until the casserole begins bubbling up and starts to brown on top.
    • Remove and let it cool for about 10 minutes before serving.
    Keto Casserole with Ground Beef and Broccoli
  • Cajun Shrimp Pasta

    Cajun Shrimp Pasta

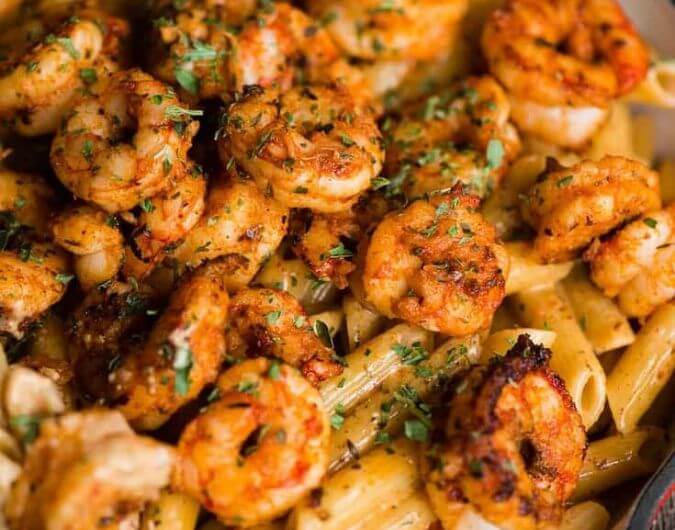
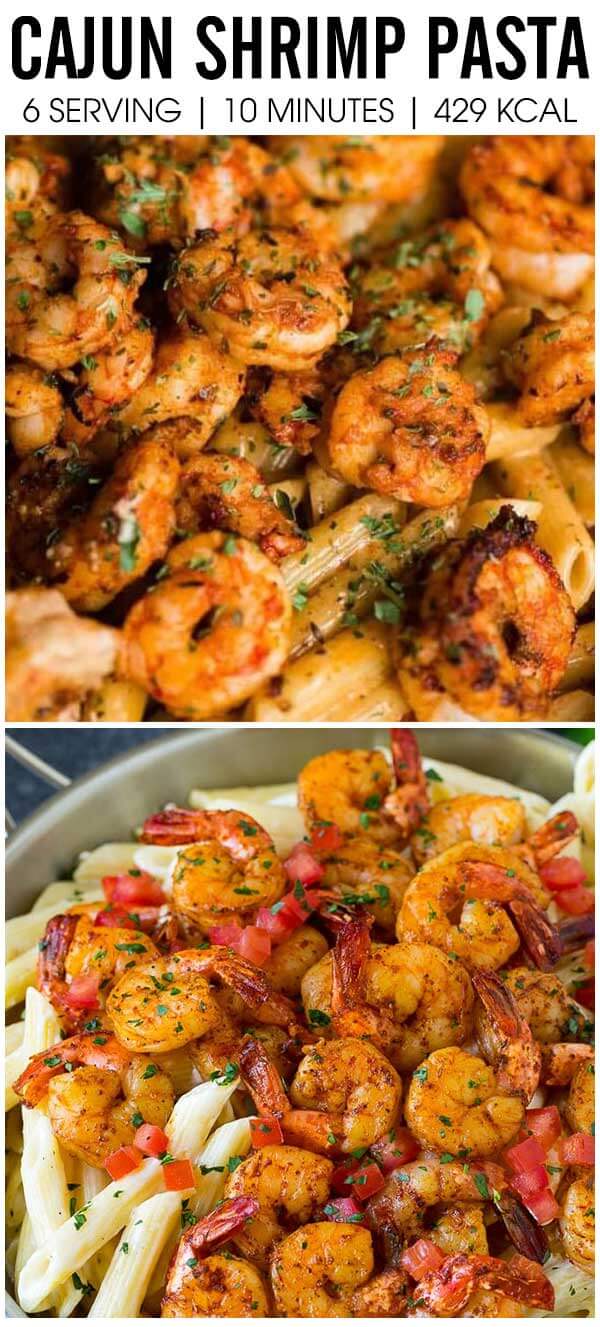
    Cajun Shrimp Pasta is a crave-worthy dinner to make at any time of the year. My family love it for both scorching days of summer and freezing days of winter. The reason is simple. It tastes so good! We fall in love with Cajun seasoning cooked with shrimp. It makes the food tastier, more flavorful and more eye-catching. The Cajun shrimp only, is enough to eat on its own or serve alongside other side dishes and green salad. Perfect!

    Along with shrimp ( deveined, cleaned, tail removed), penne pasta and Cajun seasoning, you need only 5 other ingredients to make this delicious and nutritious meal. They are heavy cream, parmesan cheese, butter, olive oil, and kosher salt to taste. Just a total of 8 ingredients in a shopping list! Not just that, it takes you only 15 minutes to cook the food. For these things, we do believe that this Cajun shrimp pasta is great for busy weekday’s meals.

    If you are finding something good to make with shrimp, this Cajun shrimp pasta should be on the menu. Coming out tasty and flavorful, this pasta surely keep your taste buds satisfied. For those who are trying to cut carbs on their meals, may swap penne pasta with zucchini noodles or spaghetti squash. Let’s get started!

    Cajun Shrimp Pasta

    Recipe by Sandra Myers
    0.0 from 0 votes
    Course: Dinner, LunchCuisine: AmericanDifficulty: Medium
    Servings

    6

    servings
    Prep time

    5

    minutes
    Cooking time

    10

    minutes
    Total time

    1

    hour 

    10

    minutes

    Cajun Shrimp Pasta is a crave-worthy dinner to make at any time of the year. My family love it for both scorching days of summer and freezing days of winter. The reason is simple. It tastes so good!

    Ingredients

    • 1 pound raw shrimp deveined, cleaned, tail removed

    • 8 ounces penne pasta

    • 2 tablespoons Cajun seasoning

    • 1 tablespoon olive oil

    • 1 tablespoon butter

    • 1 cup heavy cream

    • 1/2 cup parmesan cheese

    • 1 tbsp. kosher salt

    Directions

    • Add salt to pot of water and bring to a boil. Cook pasta according to directions.
    • Before draining, scoop out at least 1/2 cup of the cooking water. Drain pasta and set aside.
    • Add shrimp, Cajun seasoning and olive oil in bowl. Toss to completely coated.
    • Melt butter in a large skillet over medium high heat. Add shrimp in a single layer and cook until golden brown on each side, turning only once. Once cooked, transfer a clean plate.
    • Reduce heat to medium low. Add heavy cream to pan and scrape bottoms. Allow cream to bubble. Reduce heat to low and stir in parmesan cheese to melt.
    • Stir in cooked pasta and shrimp. If sauce needs to be thinned, add pasta water, one tablespoon at a time, until get desired consistency.
    Cajun Shrimp Pasta
  • Stuffed Honey-Ham Biscuits

    Stuffed Honey-Ham Biscuits

    Stuffed Honey-Ham Biscuits

    Recipe by Sandra Myers
    0.0 from 0 votes
    Course: Dinner, LunchCuisine: AmericanDifficulty: Medium
    Servings

    4

    servings
    Prep time

    15

    minutes

    Ingredients

    • 1 can (16.3 oz) Pillsbury™ Grands!™ Flaky Layers refrigerated Original biscuits

    • 8 slices (1/2 oz each) Swiss cheese

    • 8 slices (1 oz each) deli cooked ham

    • 1/4 cup honey

    Directions

    • Preheat oven to 350°F. Grease cookie sheet with cooking spray.
    • Separate dough into 8 biscuits. Divide each biscuit into 2 layers to create 16 biscuit rounds.
    • Fold each piece of cheese in half. Fold each piece of ham into fourths.
    • Place 1 folded slice of cheese and 1 folded slice of ham on 1 biscuit round. Cover with another biscuit round; firmly pinch edges to seal. Repeat with the process until no cookie round, cheese and ham remain.
    • Place biscuits on cookie sheet and bake for 15-20 minutes; until golden brown.
    • Remove and arrange on a plate. Drizzle with honey on top. Serve immediately.
    Stuffed Honey-Ham Biscuits
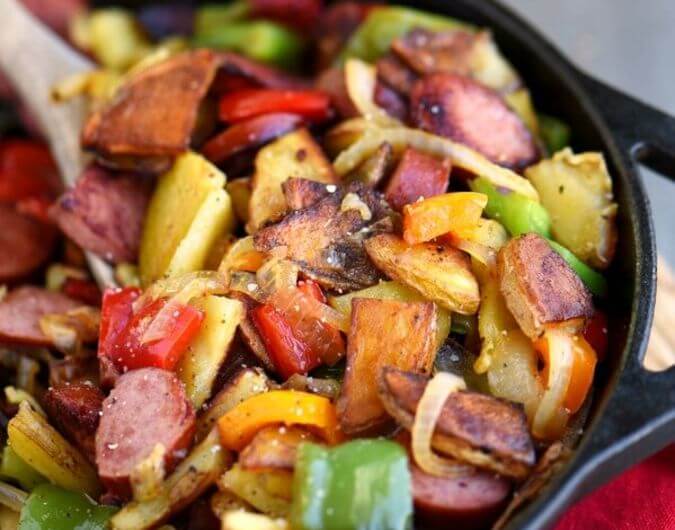
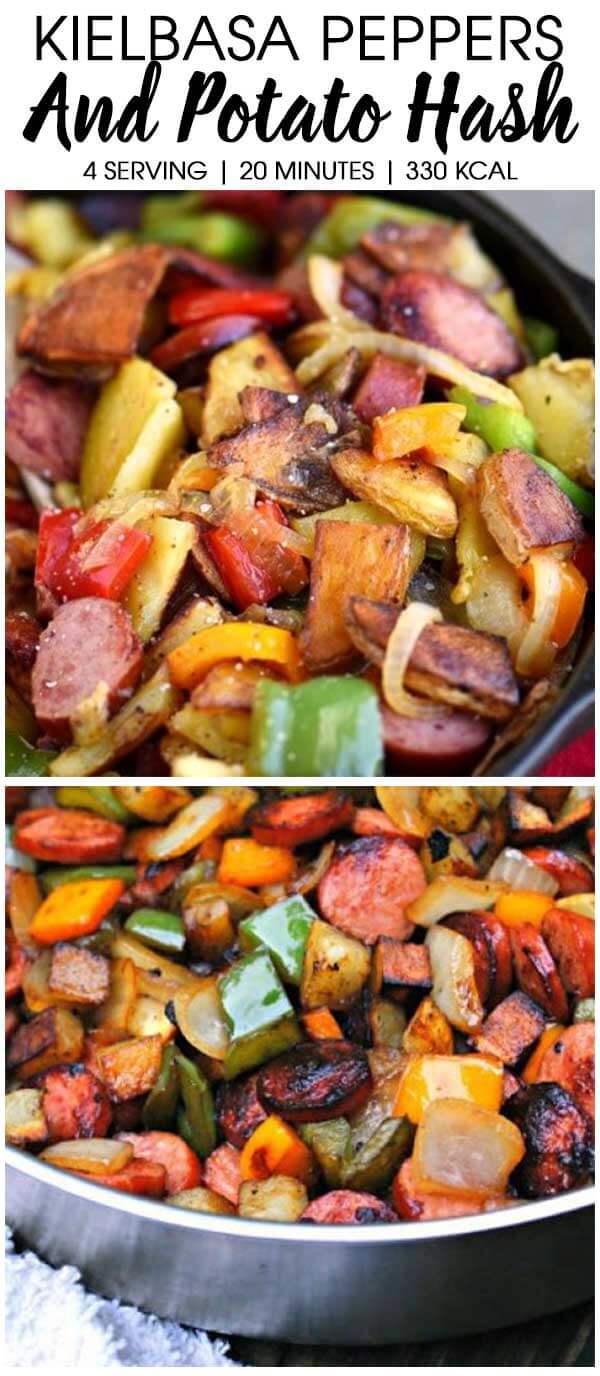
  • Kielbasa, Peppers, and Potato Hash

    Kielbasa, Peppers, and Potato Hash

    Kielbasa, Peppers, and Potato Hash

    Recipe by Sandra Myers
    0.0 from 0 votes
    Course: MainCuisine: AmericanDifficulty: Easy
    Servings

    4

    servings
    Prep time

    5

    minutes
    Cooking time

    20

    minutes
    Total time

    1

    hour 

    10

    minutes

    Ingredients

    • 14 oz turkey kielbasa cut into 1/4″ rounds

    • 1 lb potatoes, thinly sliced into bite-sized pieces

    • 1 onion, thinly sliced

    • 1 bell peppers 1 to 2, chopped

    • 2 tbsp. extra-virgin olive oil

    • 1 tbsp. unsalted butter

    • salt and pepper to taste

    Directions

    • Heat olive oil and butter in a large skillet over medium-high heat. Add potatoes and season with salt and pepper to taste.
    • Cook until browned on one side, 6 to 7 minutes. Flip and cook for another 4-5 minutes; until golden brown.
    • Remove from the skillet with a slotted spoon.
    • Add another tablespoon of olive oil into the skillet if needed.
    • Add kielbasa and cook for 2 to 3 minutes on each side, until lightly browned.
    • Add onions and pepper. Continue to cook until onions are soft and translucent and peppers and tender; stirring frequently. Season with salt and pepper.
    • Return potatoes to skillet and cook for another minute or two. Adjust seasonings and serve.
    Kielbasa, Peppers, and Potato Hash
  • Sheet Pan Chicken Fajitas

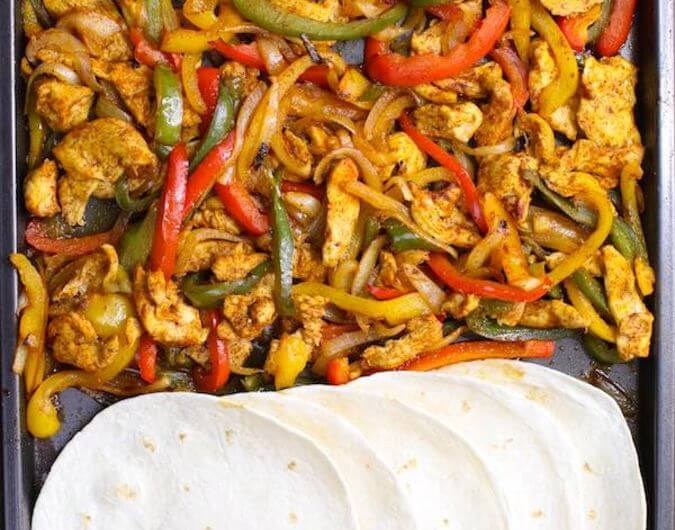
    Sheet Pan Chicken Fajitas

    Sheet Pan Chicken Fajitas is sliced chicken, onion and pepper (yellow, red, green), tossed with cumin, chili powder, garlic, paprika, salt and pepper, then baked in the oven until cooked through. The mixture comes out delicious and flavorful! Not just that, it’s eye-catching, making it perfect for both family meals and small parties, weekend gathering of friends, for instance.

    This chicken Fajitas can be eaten on its own or filled over flour tortillas. My family prefer the later one. Chicken Fajitas tacos are insanely good. Drizzled with a flavorful dressing or sauce, these tacos are tastier. Well, my mouth waters when writing here. I’ve made this Fajitas twice this month and it still got us hooked. My kids even add it to the list of most beloved food. Yummy!

    I’m hosting a game day viewing party this weekend and plan to treat my guest with this chicken fajitas. It’s not all because I have craving for chicken. This sheet pan meal is good enough to add to the menu. I’m ready to give it a go, and you? It will keep your taste buds satisfied. Believe us!

    Sheet Pan Chicken Fajitas

    Recipe by Sandra Myers
    0.0 from 0 votes
    Course: Main, DinnerCuisine: AmericanDifficulty: Medium
    Servings

    6

    servings
    Prep time

    5

    minutes
    Cooking time

    20

    minutes
    Total time

    1

    hour 

    10

    minutes

    Sheet Pan Chicken Fajitas is sliced chicken, onion and pepper (yellow, red, green), tossed with cumin, chili powder, garlic, paprika, salt and pepper, then baked in the oven until cooked through. The mixture comes out delicious and flavorful!

    Ingredients

    • Fajitas
    • 1 ½ lbs skinless boneless chicken breasts

    • 8 8 inch-size flour tortillas

    • 3 red, yellow and green bell peppers

    • 1 medium onion

    • 1 tsp cumin powder

    • 1 1/2 tsp chili powder

    • 1 tsp garlic powder, or minced garlic

    • 2 tsp paprika

    • salt and pepper to taste

    • 1 tbsp. vegetable oil

    • Garnishes (Optional)
    • sour cream

    • avocado

    • lime, wedges

    • fresh cilantro, chopped

    Directions

    • Preheat oven to 400°F. Set aside a large baking sheet.
    • Cut chicken breasts, onions and peppers into less than 1/2 inch strips.
    • Place chicken, peppers, onions and peppers on baking sheet. Sprinkle with cumin, chili powder, garlic, paprika, salt and pepper on top. Drizzle with oil.
    • Toss all ingredients on the pan to coat evenly; using tongs or two spoons.
    • Bake in preheated oven for 15 minutes.
    • Remove and stir chicken and vegetables. Then slide them one-quarter of the way over, to make space for tortillas.
    • Exclude excess juices in baking sheet with a paper towel. Add tortillas, return to oven and bake for 5 more minutes.
    • Remove and garnish fresh lime on top. Serve in tortillas with optional cilantro, sour cream and avocado. Enjoy!
    Sheet Pan Chicken Fajitas
  • 20-Minute Honey Garlic Shrimp

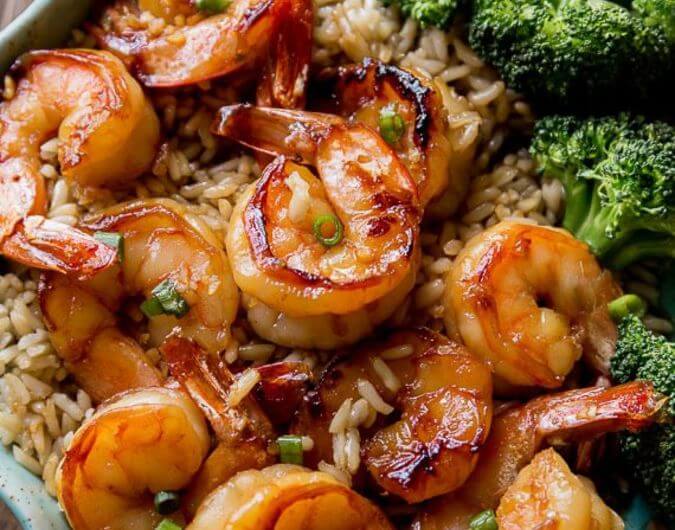
    20-Minute Honey Garlic Shrimp

    Your taste buds are all in a treat with this 20-minute honey garlic shrimp! Shrimps are peeled and deveined, marinated with a mixture of honey, soy sauce, garlic, and ginger, refrigerated for 15 minutes (or up to 8-12 hours), then seared and cooked on pan (with marinade) until cooked through. They comes out juicy, tasty and flavorful. Who can resist them? My family can’t.

    I was recommended this esy honey garlic shrimp by my mom. She is a cooking lover and has tried different meals, from chicken to seafood to veggies. She made a great job with this shrimp and let me know the recipe. How a lovely mom! I says thanks to her and give it a try right away. And, the food keeps my kids, husband and I satisfied. My kids become a fan of this shrimp dish and my husband also gives it a nod (even though he is not fond of seafood). So good!

    If you love shrimp or have an appetite for it, you should never miss this crazy good honey garlic shrimp for meal. Spend 20 minutes, and this shrimp is ready on the table. To turn it into an complete meal, you can serve it over a bed of white (or brown rice) or steam veggies. For those who try to reduce the carbs for meal, can eat it with cauliflower rice or quinoa. Let’s give it a go!

    20-Minute Honey Garlic Shrimp

    Recipe by Sandra Myers
    0.0 from 0 votes
    Course: Main, DinnerCuisine: AmericanDifficulty: Easy
    Servings

    4

    servings
    Prep time

    15

    minutes
    Cooking time

    5

    minutes
    Total time

    20

    minutes

    Your taste buds are all in a treat with this 20-minute honey garlic shrimp! Shrimps are peeled and deveined, marinated with a mixture of honey, soy sauce, garlic, and ginger, refrigerated for 15 minutes (or up to 8-12 hours), then seared and cooked on pan (with marinade) until cooked through.

    Ingredients

    • 1 lb medium uncooked shrimp, peeled & deveined

    • 1/3 cup honey

    • 1/4 cup soy sauce

    • 1 Tablespoon minced garlic

    • 2 teaspoons olive oil

    • 1 teaspoon minced fresh ginger (optional)

    • chopped green onion for garnish (optional)

    Directions

    • Gather honey, soy sauce, garlic, and ginger in a medium bowl. Whisk to combine.
    • Place shrimp in a large zipped-top bag or tupperware.
    • Pour 1/2 marinade mixture on top, give it all a shake or stir. To marinate shrimp, store it in refrigerator for 15 minutes or for up to 8-12 hours.
    • Cover and refrigerate remaining marinade for further steps.
    • Heat olive oil in a skillet over medium-high heat. Add shrimp and cook until pink on both sides, for about 45 seconds each.
    • Pour in remaining marinade and continue to cook until shrimp is cooked through, about 1 minute more.
    • Arrange shrimp and sauce on a plate or bowl over brown rice or steamed veggies. Garnish with green onion if preferred.
    20-Minute Honey Garlic Shrimp
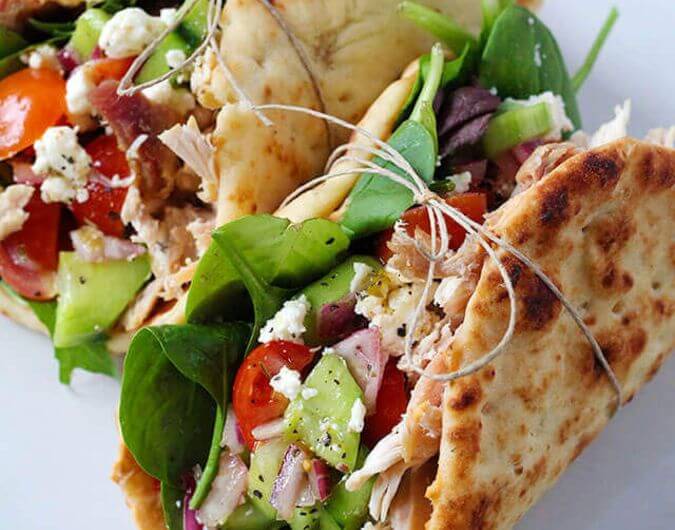
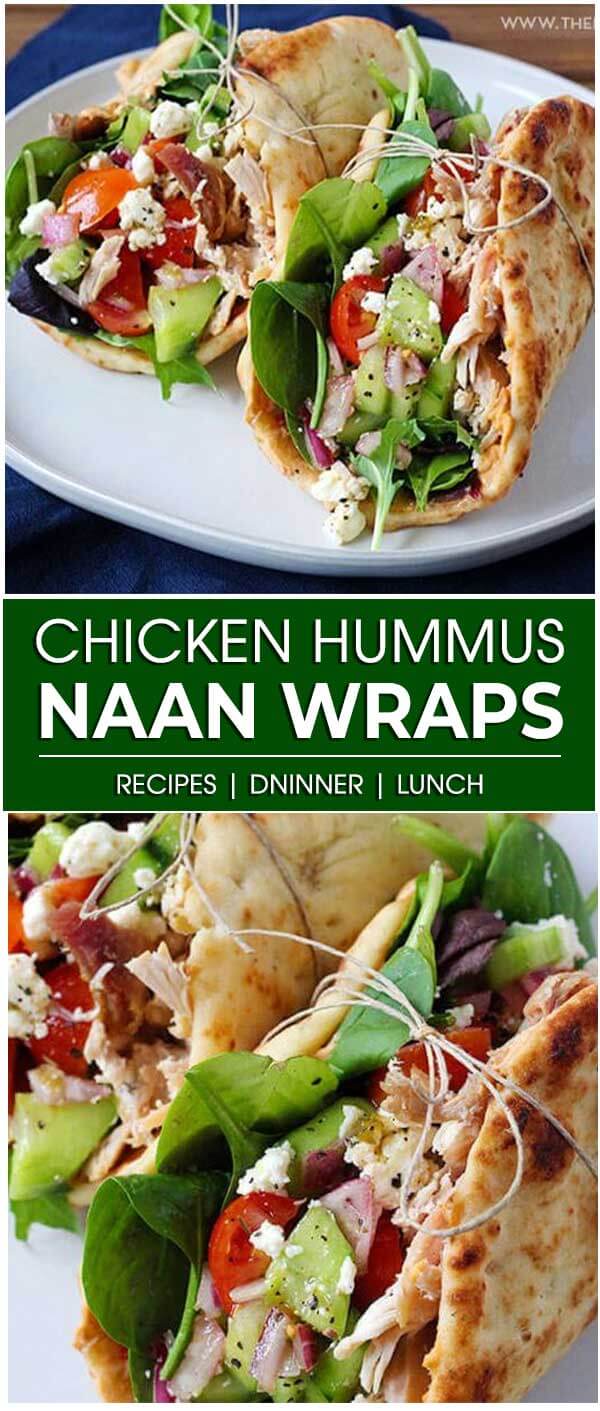
  • Chicken Hummus Naan Wraps

    Chicken Hummus Naan Wraps

    Chicken Hummus Naan Wraps

    Recipe by Sandra Myers
    0.0 from 0 votes
    Servings

    4

    servings
    Prep time

    30

    minutes
    Cooking time

    40

    minutes
    Total time

    1

    hour 

    10

    minutes

    Ingredients

    • For the Wraps
    • 3 cups cooked chicken, shredded

    • 4 pieces naan bread

    • 4 tbsp. full-fat feta cheese or goat cheese

    • 1 cup roasted red pepper hummus

    • 4 cups organic spring mix

    • 2 cups the veggie mixture with dressing

    • For Veggie Mixture
    • 1/2 cup of peeled, sliced & quartered cucumber

    • 1 cup of quartered cherry tomatoes

    • 1/2 cup of peeled & diced red onion

    • 1/4-1/3 cup of homemade red wine vinaigrette

    • For Garnish
    • 1 1/2 tsp of extra vinaigrette or juice from the veggies

    • Drizzle of virgin olive oil

    • Sea salt & black pepper to taste

    Directions

    • Heat the broil of the oven. Place naan bread pieces onto the middle rack. Slightly toast each side for about 3-5 minutes. Make sure that they don’t get too dark.
    • Add cucumber, tomatoes, and red onion to a medium-sized bowl. Pour with vinaigrette and toss until they’re well coated.
    • Lay naan bread pieces on a cutting board or baking sheet with the inside facing up.
    • Spread 1/4 cup of hummus over each naan bread piece. Add 1/4 cup of spring mix on one half. Cover with cooked shredded chicken on the other half. Top with 1/2 cup of veggie mixture. Sprinkle with crumbled feta cheese over the veggies.
    • To garnish, pour an extra tablespoon of red wine vinaigrette or juice from the bottom of the veggie bowl over the wrap, then sea salt & cracked black pepper. Finish with a drizzle of olive oil.
    • Serve immediately.

    Notes

    • If you don’t want to turn on the oven, you may warm your naan bread in a skillet on the stove.
    Chicken Hummus Naan Wraps